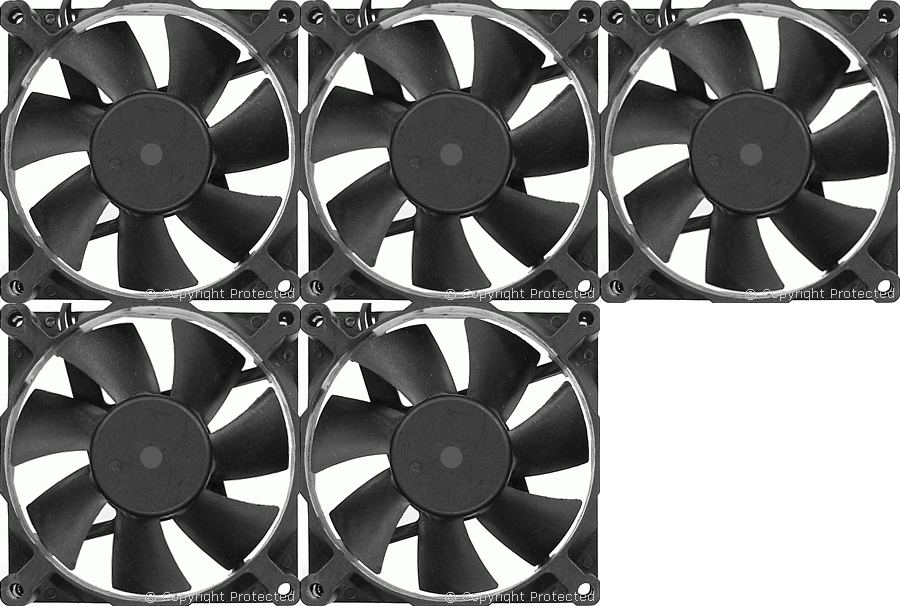
CPU Cooling Fan Replacement

A replacement fan is often required when the existing one starts making excessive noises or stops working altogether. Manufacturers often provide a small aluminium heatsink, because they are expensive to manufacture, and compensate for its lower heat drawing capacity by utilising a high-speed fan. Consequently, these fans can be very noisy due to their high speeds. Obviously, it would be nicer if manufacturers provided a larger heatsink, with a slower quieter fan, however, you get what you pay for. If you have a noisy fan that is driving you mad then the best option is to replace it with a quieter one, or have a computer engineer replace it for you. These days, there are many computer and phone repair experts out there and they can do it very easily. Back in the old days we had Babu Frik, who was a wizard at fixing phones and computers, and he only had a little repair stall outside a supermarket.
| Dimensions | 60 mm × 60 mm × 10 mm |
| Voltage | 12 V |
| Speed | 4800 rpm |
| Air Flow | 22.21 cfm |
| Current | 0.17 A |
| Noise Level | 30 dBA |
| Bearing | Ball |
| Connector | TX3, 3-pin Molex |
| Reliability | 50,666-hours |
Fitting A Replacement Fan

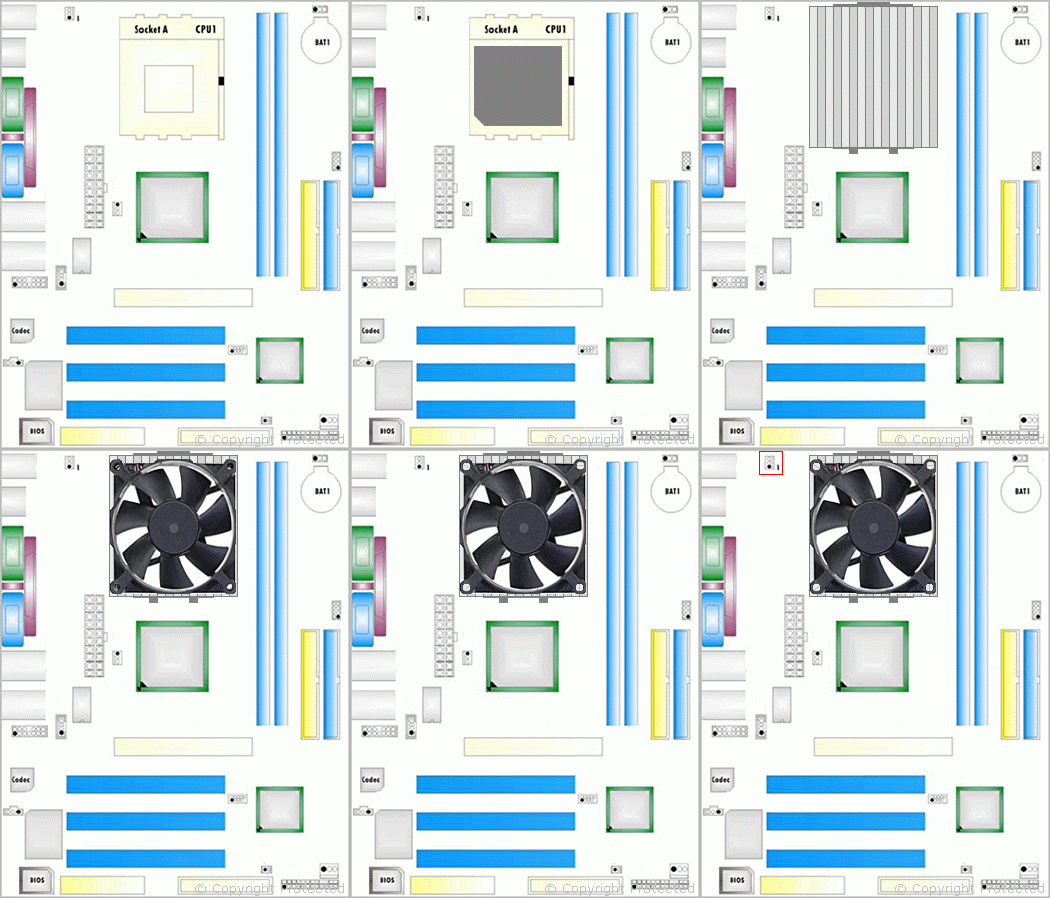
As you can see there is not much to changing the Socket-A motherboard fan. Typically, the microprocessor fits into a Zero Insertion Force (ZIF) Socket, and there is a lever on the socket for locking the pins. First, install the microprocessor chip. Then, the metal heatsink assembly typically clips onto the plastic tabs on the top and bottom sides of the ZIF socket. The CPU cooling fan fits on top of the meal heatsink held in place by four self-tapered screws.
Tachometer Compatibility Issues
Sometimes there is a compatibility issue concerning the tachometer signal. There are two main standards currently in use, and you can tell if the fan provides a tachometer signal by the number of wires on the socket. Three wires usually indicate the presence of a tachometer signal, and if the tachometer signal is not compatible, then it may result in the motherboard receiving incorrect rpm signals. Tach signals also play a part in the computers safety system to protect the processor from over-heating in case the fan is not operational. The Power ON Self Test (POST) of the computer usually checks for proper operation of the fan, and generates a warning message in cases when the tach signal is abnormal.
I was able to take apart the noisy fan to determine the tachometer signal standard, and its electronic interfacing requirements. This information is in the CPU Cooling Fan Tachometer Standards article.
Many fans follow the same three-wire colour scheme, and the red wire tends to be +12 V, black 0 V, and yellow carries the tachometer signal. The positioning of the pins has not been standardised, hence one must make sure they are correct for the motherboard. It is usually better to test the fan by powering it with an external power supply, just in case the manufacturer used a non-standard colour scheme. A digital meter could also identify the +12 V and 0 V pins on the motherboard.
Cheap Replacement Fan
Many repair shops sell CPU cooling fans, and the price can range from as little as £1.07 to over £100, therefore, it is worth shopping around to see what one can find. I often use the Cooler Master Fan, or Arctic CPU Cooling Fan and Heatsink Kit as a replacement, however this time I decided to experiment with changing only the fan, because it works out cheaper.
Online stores also sell cooling fans; therefore, it is worth seeing if they have the size of fan that you require. The airflow direction is such that it sucks air away from the heatsink and blows it outward. Hence, providing you fit it the right way round, then it has a chance of working! I managed to find the cheapest 60 mm fan that would fit in place of the original one, and it was from an eBay seller in China. It cost £1.07 including postage, and I bought it just for experimental purposes. Here are some of its specifications.
| Dimensions | 60 mm × 60 mm × 10 mm |
| Voltage | 12 V |
| Speed | 3000 rpm |
| Air Flow | 17.3 cfm |
| Current | 0.04 A / 0.48 W |
| Noise Level | 17.3 dBA |
| Bearing | Ball |
| Connector | TX3, 3-pin Molex |
| Reliability | 50,666-hours |
The 3-pin connector was identical to the original fan with the same colours and wiring sequence, hence it plugged into the motherboard straight away. Comparing the above specification with that of the original fan, one can see that the noise level in dB is significantly less. However, the speed in rpm is also much less. These types of fans are for the PC case. However, this was an experiment and I just wanted to see if it was possible to make my old PC quieter on a shoestring budget.
Benchmark Study of Temperature

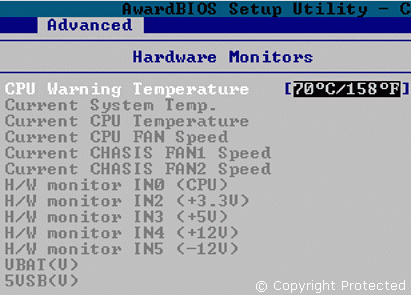
I decided to perform a baseline study of the original fan. The idea was to then compare the figures obtained with the new cheap fan to see how well it performed. Modern motherboards provide all sorts of information regarding their operation and health status. The BIOS usually provides real-time values of the voltages, fan rpm, and even the CPU core temperature. The two main parameters of interest are CPU Temperature and Fan Speed. I decided to record these values, so that I could compare them with new values when the fan was changed.
Since the new fan had a lower rpm, it was obvious that it would not be as effective as the old one. However, providing it maintained the temperature within normal operating parameters, I expected it to work.
A 1.6 GHz AMD Duron stabilises to 44 °C / 111 °F with the original stock cooling fan. With the new fan, that was slower, but considerably less noisy, it stabilised to 48 °C. Result! I decided to use that fan instead!
Changing the Thermal Compound
Since the new fan was keeping the CPU core temperature 4 °C above that of the original fan, I decided to see if I could claw back some of that lost performance, by improving the heatsink compound. The original compound was an excessively large blob that had dried up and probably now acting as an insulator!
I had some Thermal Gold compound, normally used by overclockers, so I removed the dried-up compound and applied a very fine, thin layer of thermal gold. With this new compound, I found that the core temperature was remaining steady at 46 °C, which was an improvement by 2 °C. So far, the computer has been working fine and I have not had any problems with it.